
I just had to pull this old post back out! Five years ago I revamped it and made the hats all over again!! They are still just as cute! I hope you guys enjoy them and make sure to scan to the bottom and see an easy modification that only uses construction paper!
I have been super busy getting ready for Thanksgiving. This means cooking pies and making cute Thanksgiving crafts with the kids all while packing half the house because we are headed south to Tallahassee to spend the holiday with my family. We literally packed half the house, no joke. We always overpack!

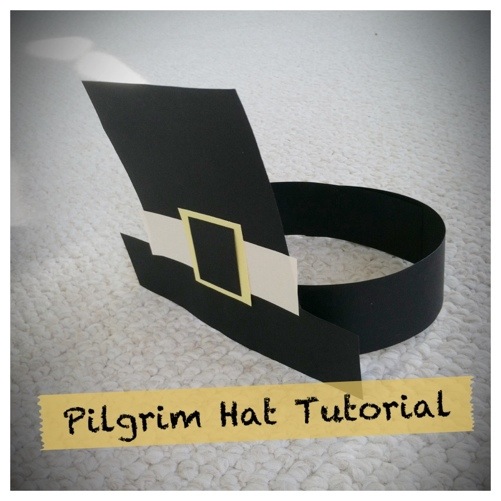
Pilgrim Hat
Materials
– Black Cardstock
– Yellow Construction Paper
– Grey Construction Paper
– Glue Stick or other adhesive
– Tape
Step 1:
Cut 2 strips of black carstock approximately 1.5″ x 12″. I used 12″ x 12″ scrapbook paper but 1.5″ x 11″ would work too.
Step 2:
Glue the two strips together to make one long strip, overlapping about one to two inches. I also taped this for extra hold.
Step 3:
Cut out the hat shape. I hope to eventually include a PDF template, but for now it’s basically a square on top of a very thin/long rectangle. I drew mine freehand on the paper and then cut it out. Approximately 6″ tall. I held the card stock up to Noah’s head so that it would be a good proportion.
Step 4:
Glue the “hat” shape to the long strip. Center it over the seam in the middle.
Step 5:
Cut a thin rectangle out of the grey construction paper. Approximately 1″ wide and the length of the square part of the hat. Glue it on the hat.
Step 6:
Cut a 2″ square out of the yellow construction paper and glue, centered, over the grey strip.
Step 7:
Cut a 1″ square out of the black cardstock and glue centered on the yellow square.
Tada!! You now have one adorable pilgrim hat. Wrap the strip around your child’s head and tape the ends in the back for a custom fit. 🙂
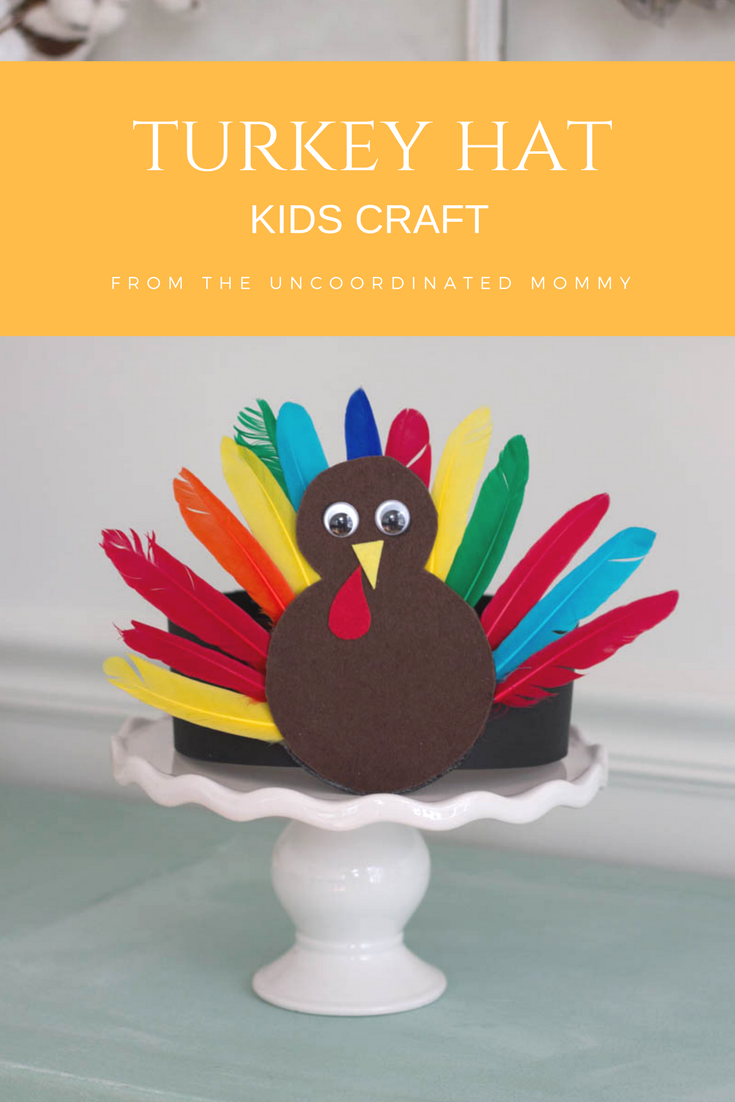
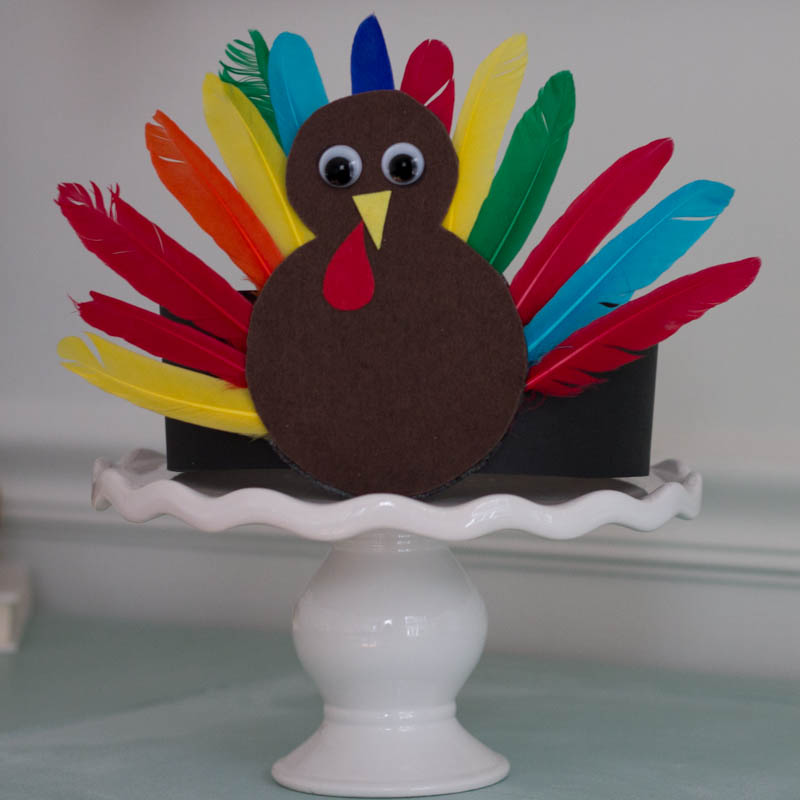
Turkey Hat Tutorial
Materials
– Brown Cardstock
– Brown Adhesive Felt (optional)
– Orange and Red Felt (or construction paper)
– Googly Eyes
– Feathers (You can also cut “feathers” out of construction paper)
Start with steps 1 and 2 above from the Pilgram hat to make the headband.
Step 3:
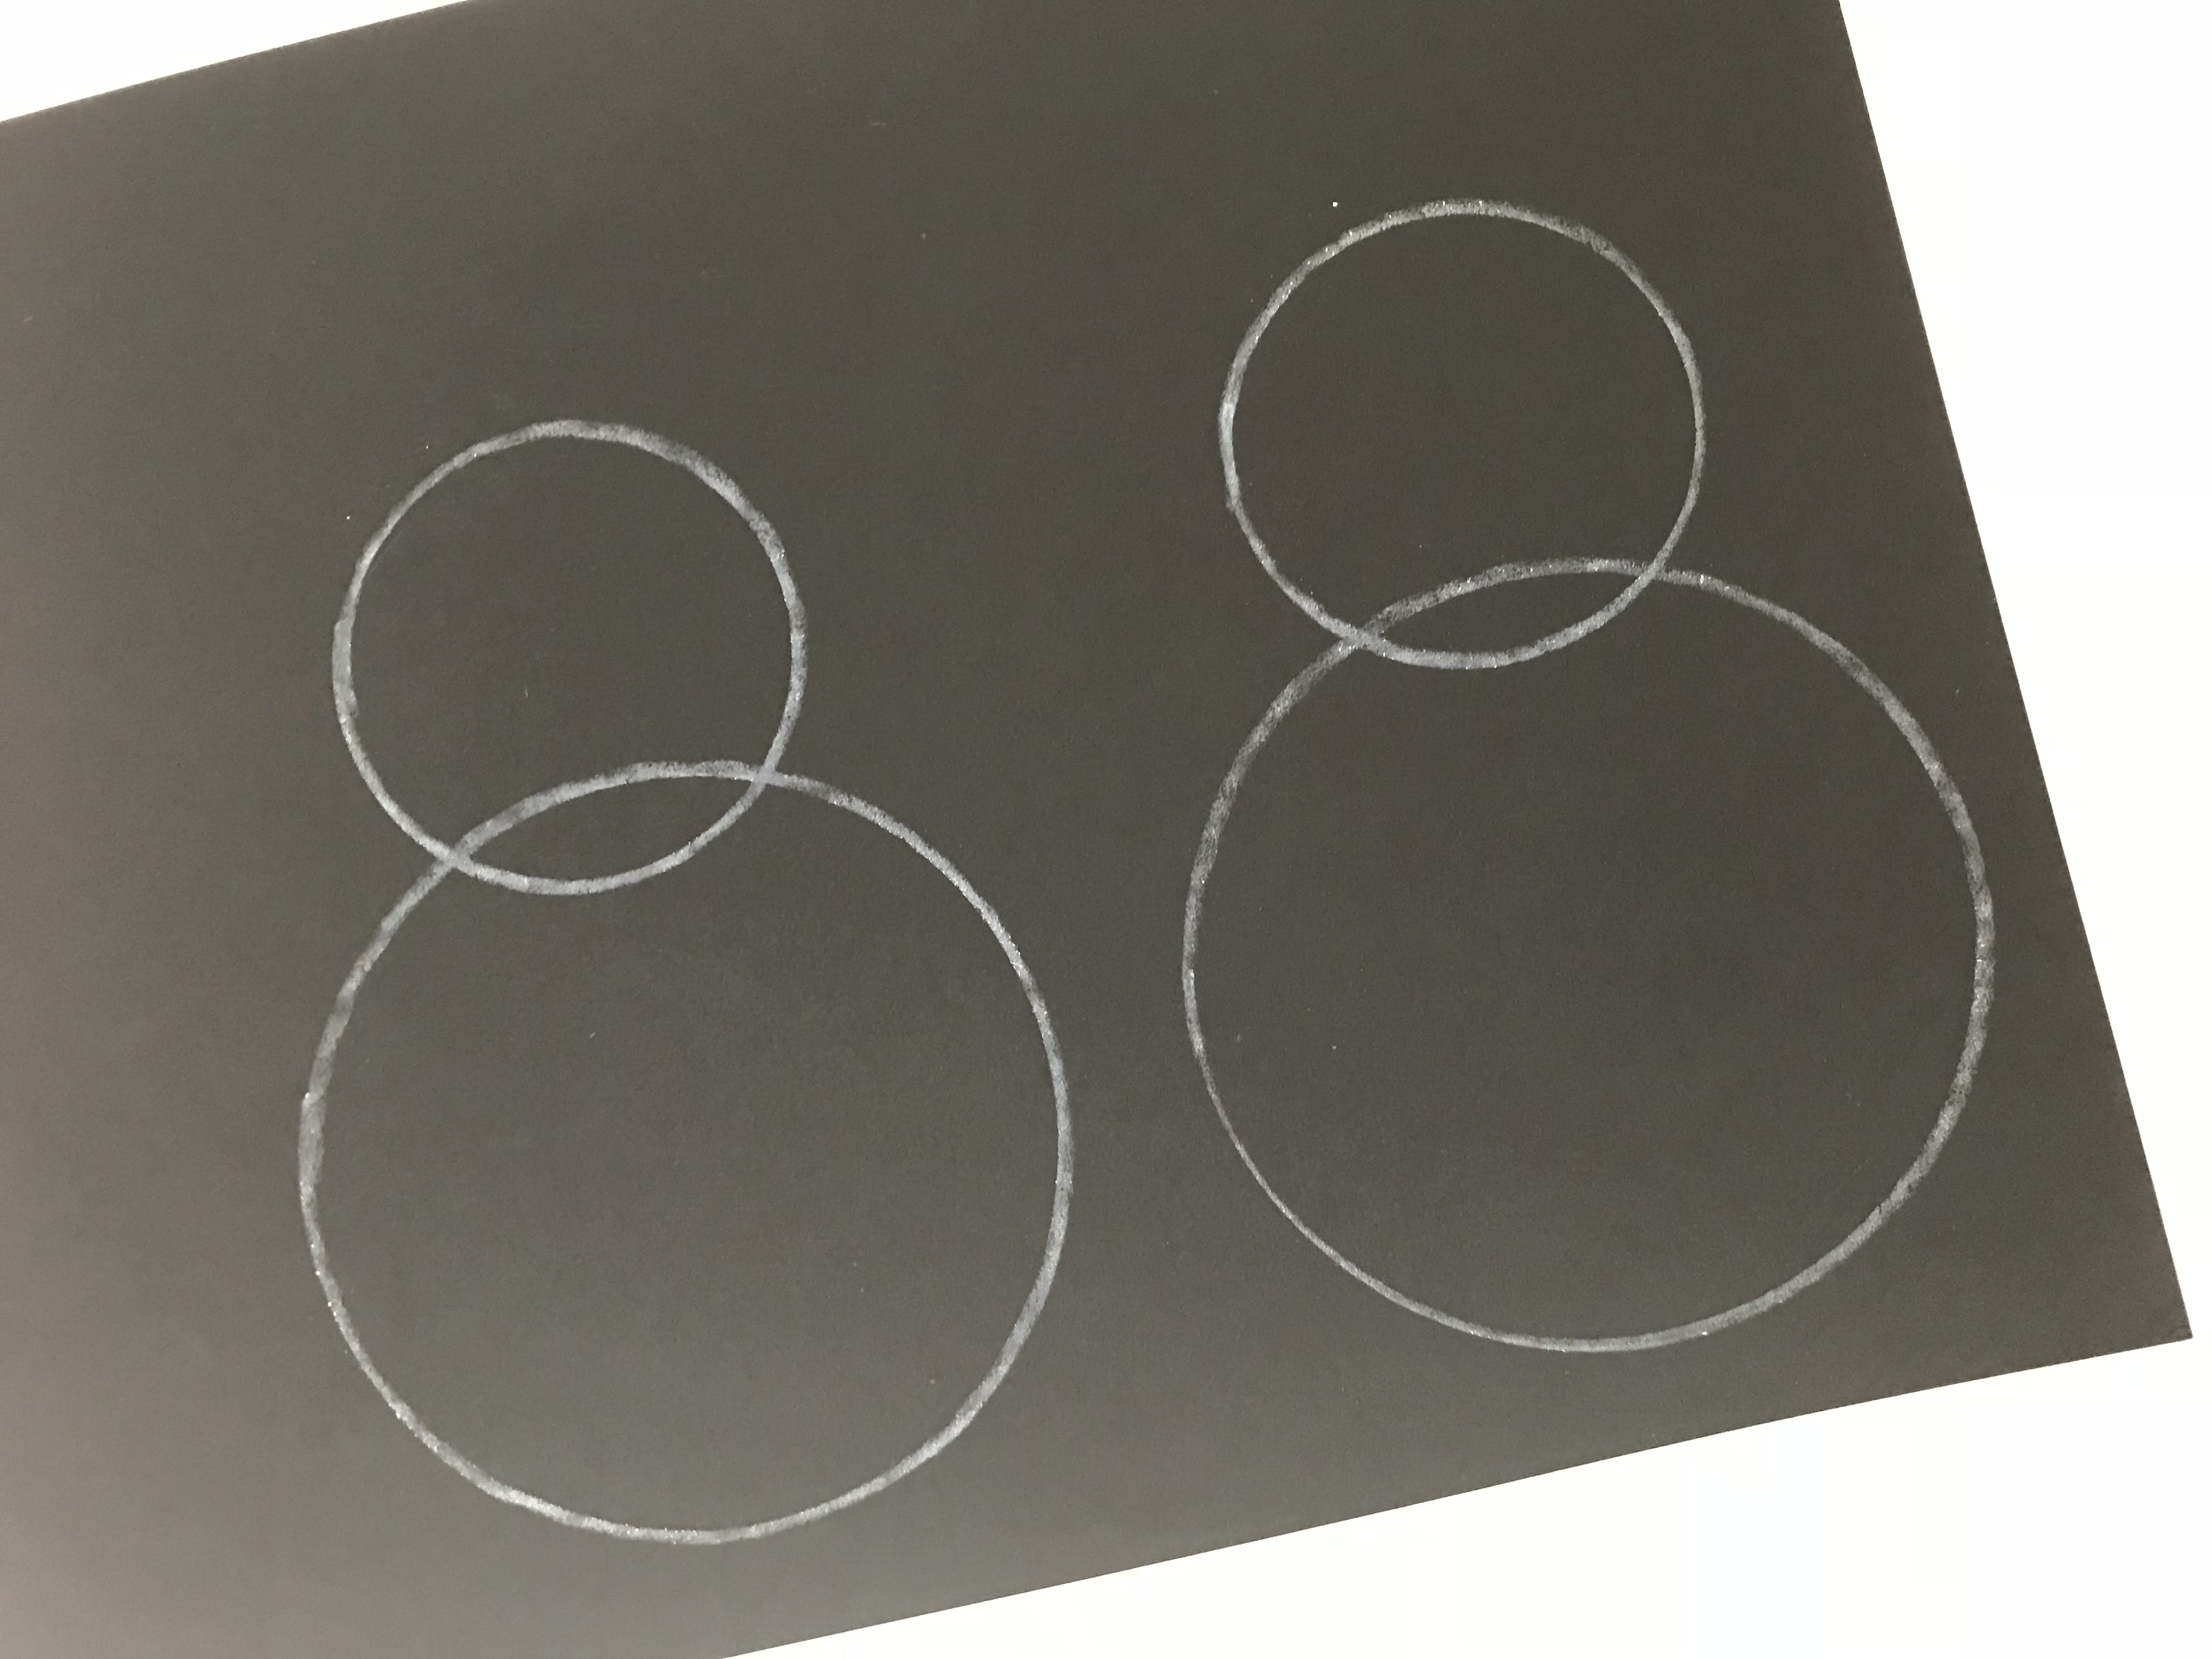
Find two circular objects to trace on the cardstock. I previously used the mouth of a large martini glass and the stem was perfect for the smaller circle. I think a large red wine glass would work too or you can use these awesome circle templates I bought ages ago.
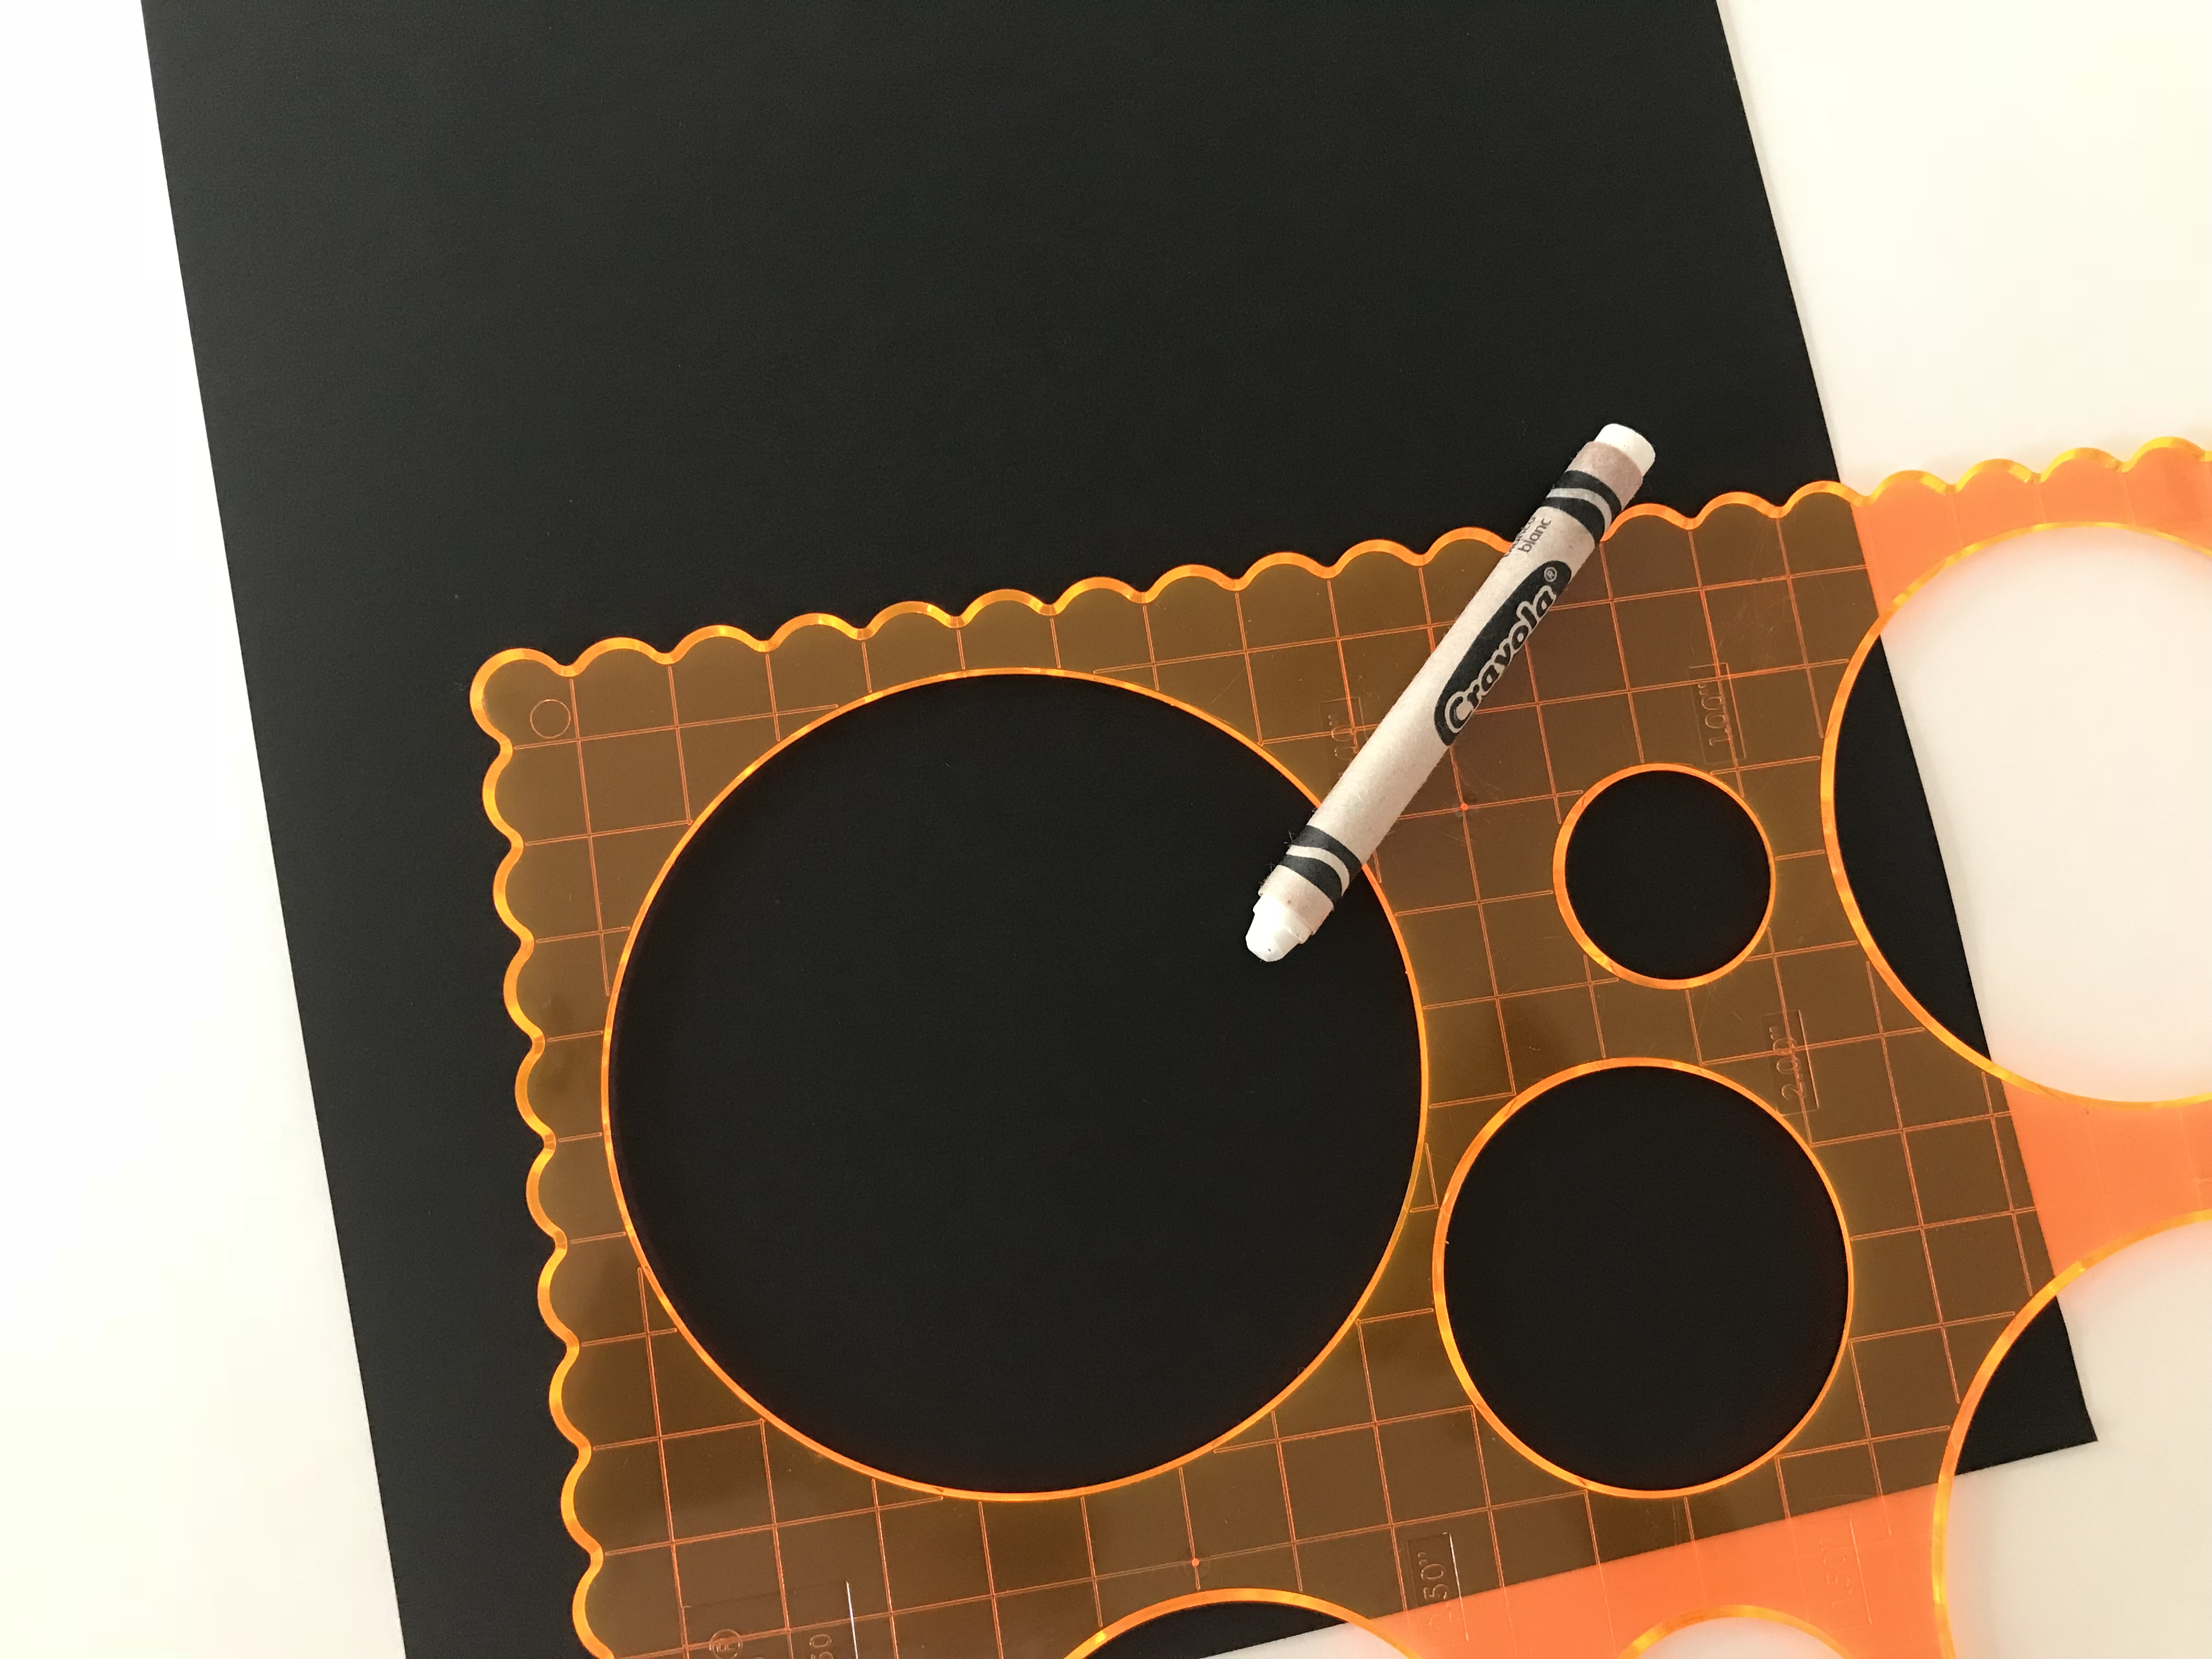
Take the larger object and trace the circle. Place the smaller object at the top of tr large circle, half off, and trace.
Step 4: (Optional)
Trace the turkey body on the adhesive felt and cut out.
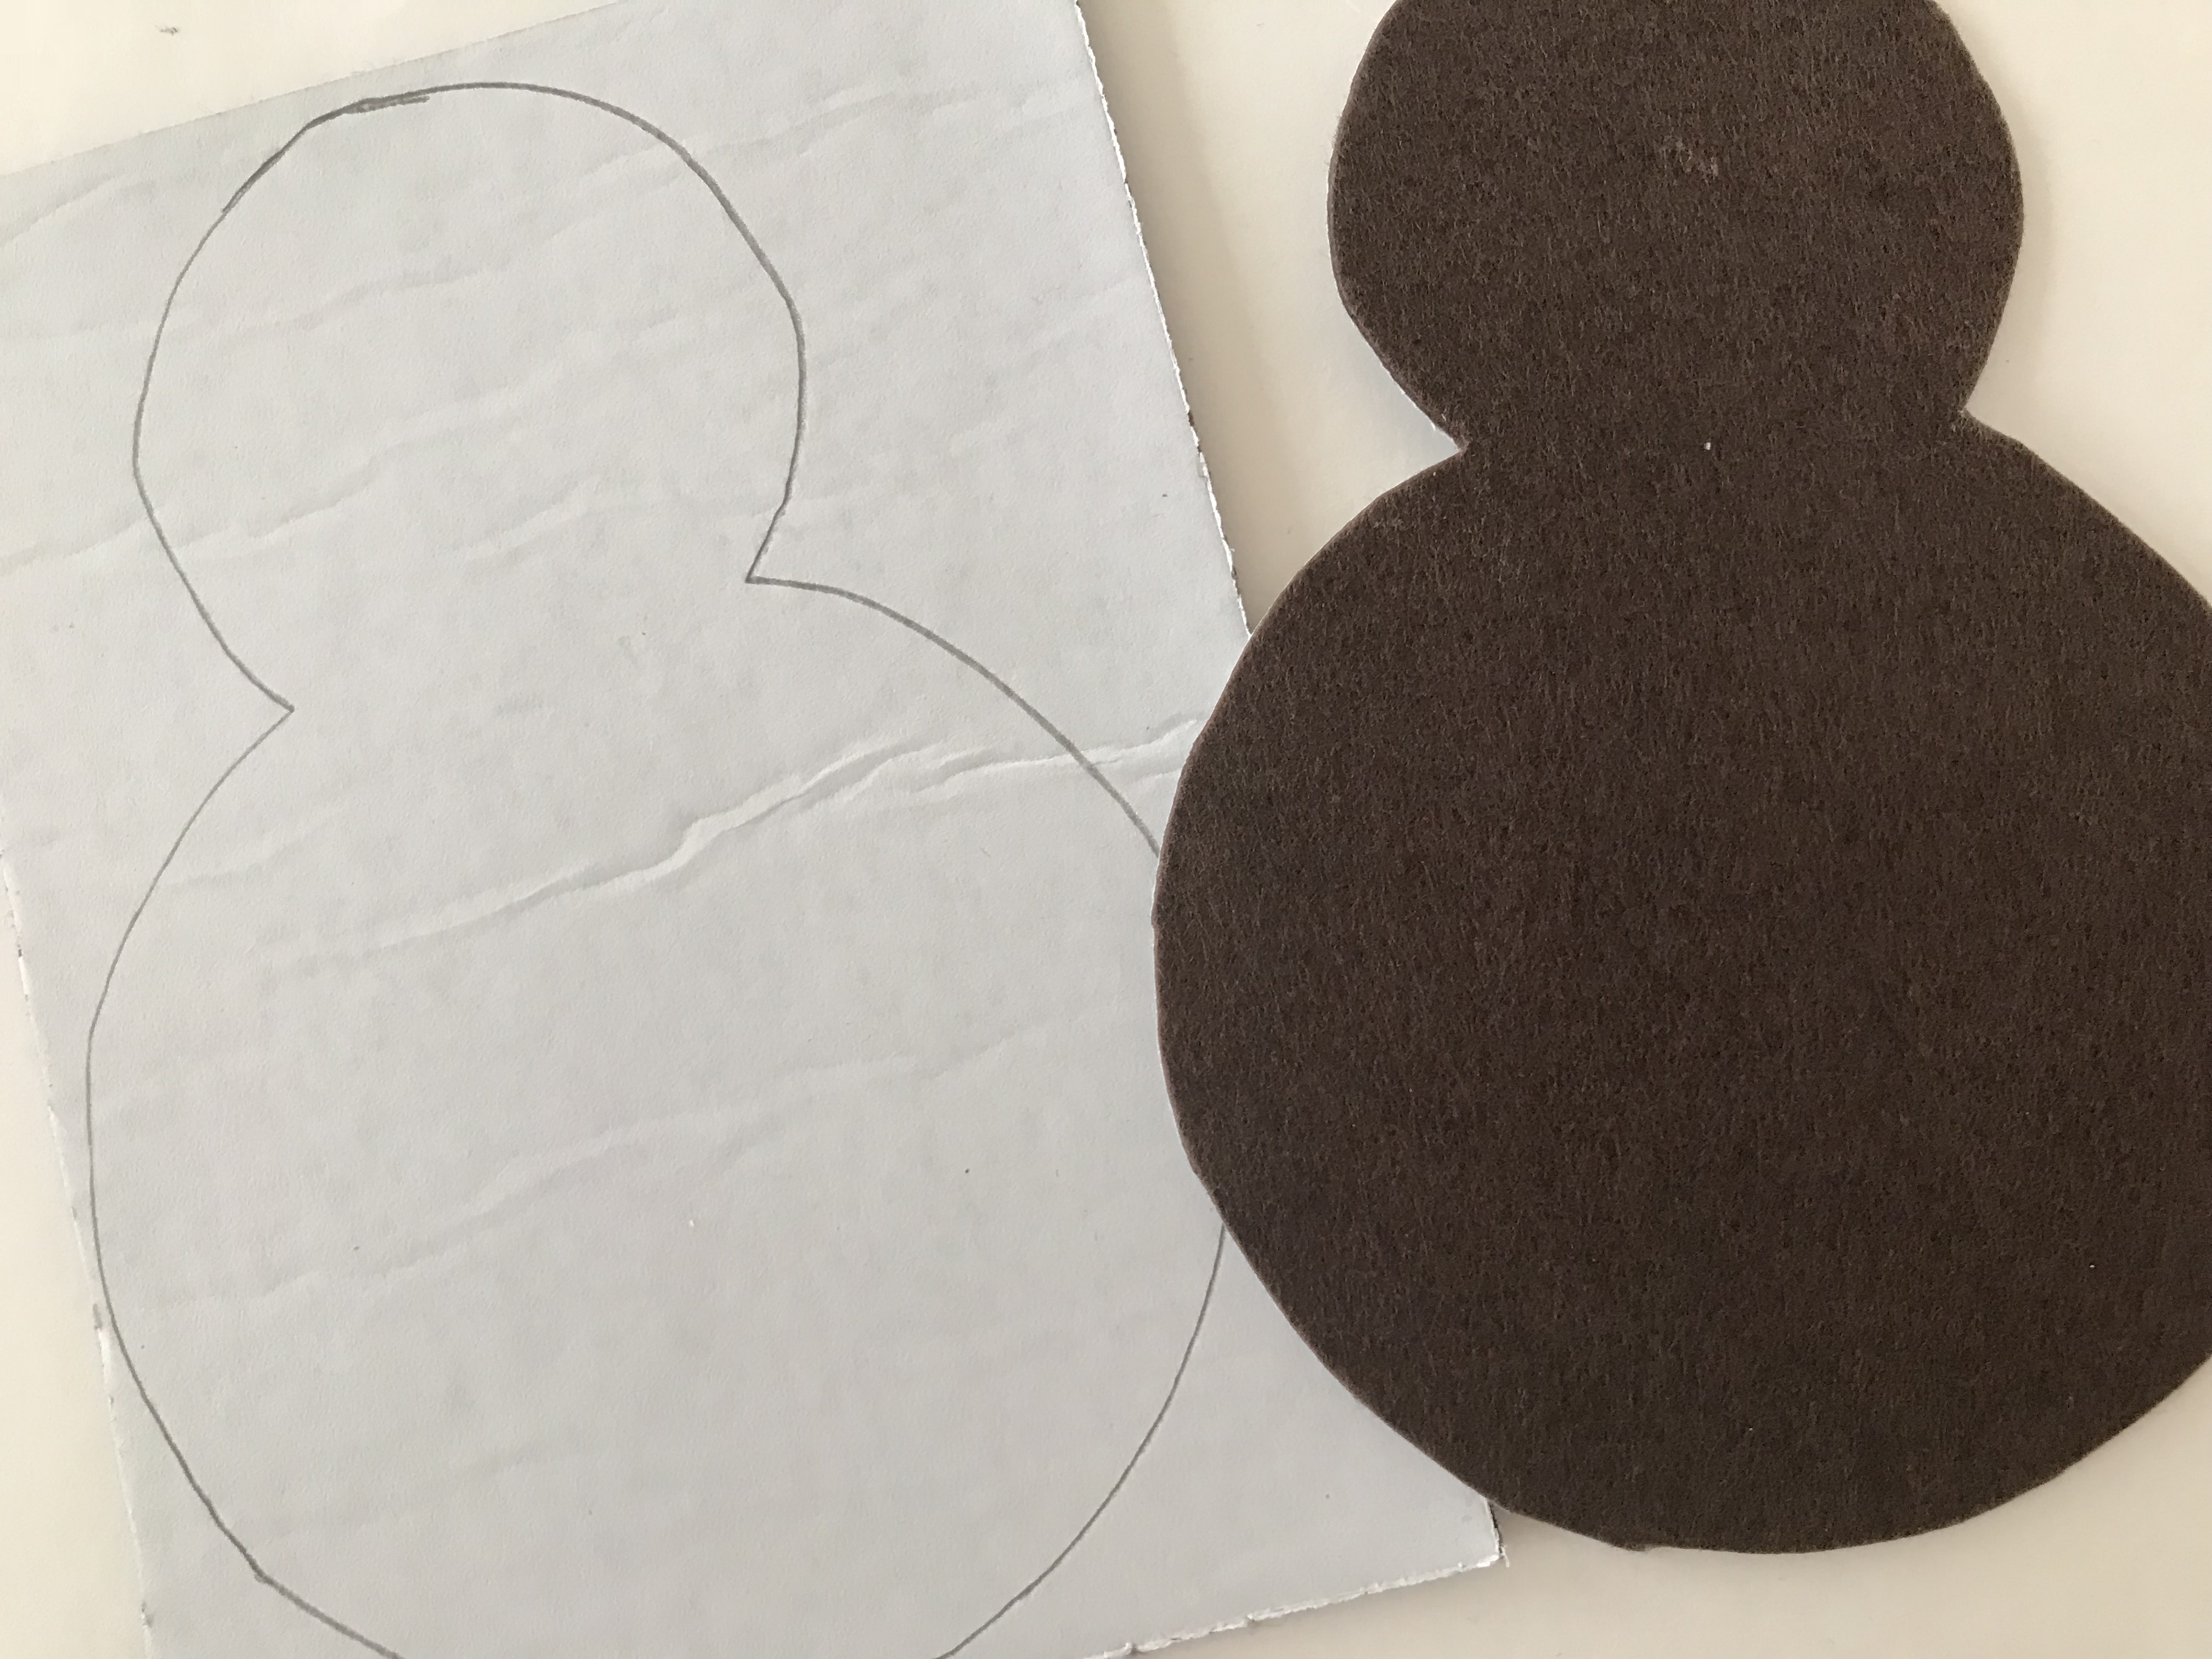
Peel back and stick to turkey body.
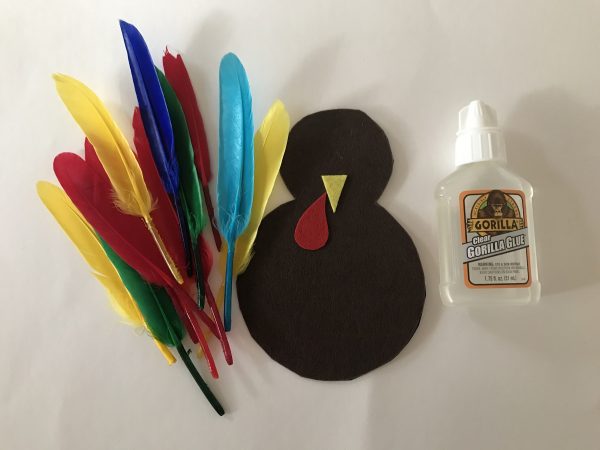
Step 5:
Cut out and glue a yellow triangle and a red teardrop shaped piece for the beard. If you used the adhesive felt I would suggest sticking with felt, otherwise construction paper will work for this step.
Step 6:
Turn over and glue feathers to back of turkey body. Cut and glue a circle of cardstock to cover the feathers in the back.
Step 7:
Glue googly eyes.
Step 8:
Glue the turkey to the long strip. Center it over the seam in the middle.
And there’s your turkey!! You can also tape the strip closed in the back allowing for a custom fit!
I hope you enjoyed this tutorial and make some adorable hats. Have a safe and happy thanksgiving!!!