I can not believe that it has already been four years since I initially wrote this post! I decided it was time for a refresh and have updated the photos and included some links to really cute fabric and some great rings! Enjoy!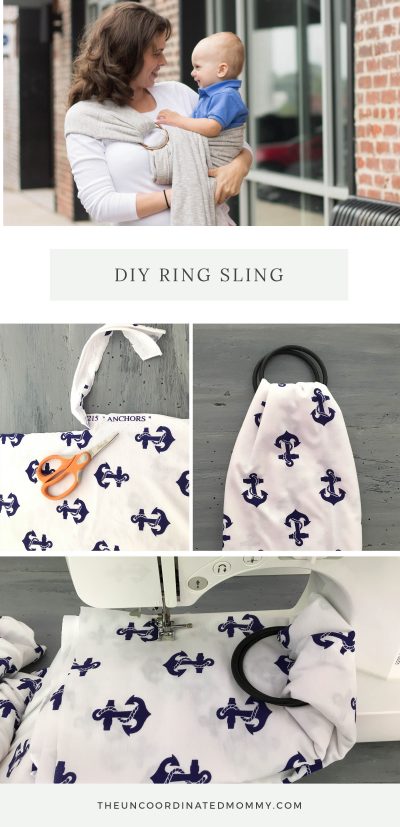
Supplies:
- 2 1/2 Yards Knit Fabric
- (2) 3 1/2″ Rings
- Scissors
- Matching Thread
What Fabric Should I Buy?
I use knit fabric because it doesn’t have to be hemmed. You can cut it and it won’t fray. This equals a whole lot less sewing. Plus it has a some stretch which is helpful for holding baby snugly, but comfortable. I have heard from other baby wearers that do not believe in using knit fabrics. I don’t believe that knit should be ruled out completely. Make sure when choosing your knit fabric that it does not have a crazy amount of stretch. You want to find one that is as close to cotton as possible. Think of the fabric used in a moby wrap, it’s a cotton that has just the tiniest bit of stretch. Amazon has a ton of great Jersey Knit Fabric available in adorable prints and if you are a prime member you can get free two day shipping for most fabrics.
Also, I order large aluminum rings for most of the slings. I do use these plastic rings for the slings I make to go in the water. That’s right. You can make a sling out of mesh knit fabric!!! How awesome is that!? Anyways, I used the plastic rings since they would be getting wet. I’m sure the aluminum would be fine, I just prefer the plastic knowing they will be fine when wet. Just make sure that the rings you are purchasing were made and tested for baby wearing. DO NOT purchase craft rings from the store. These could break and that would be very dangerous.
On to the steps!!
Step 1
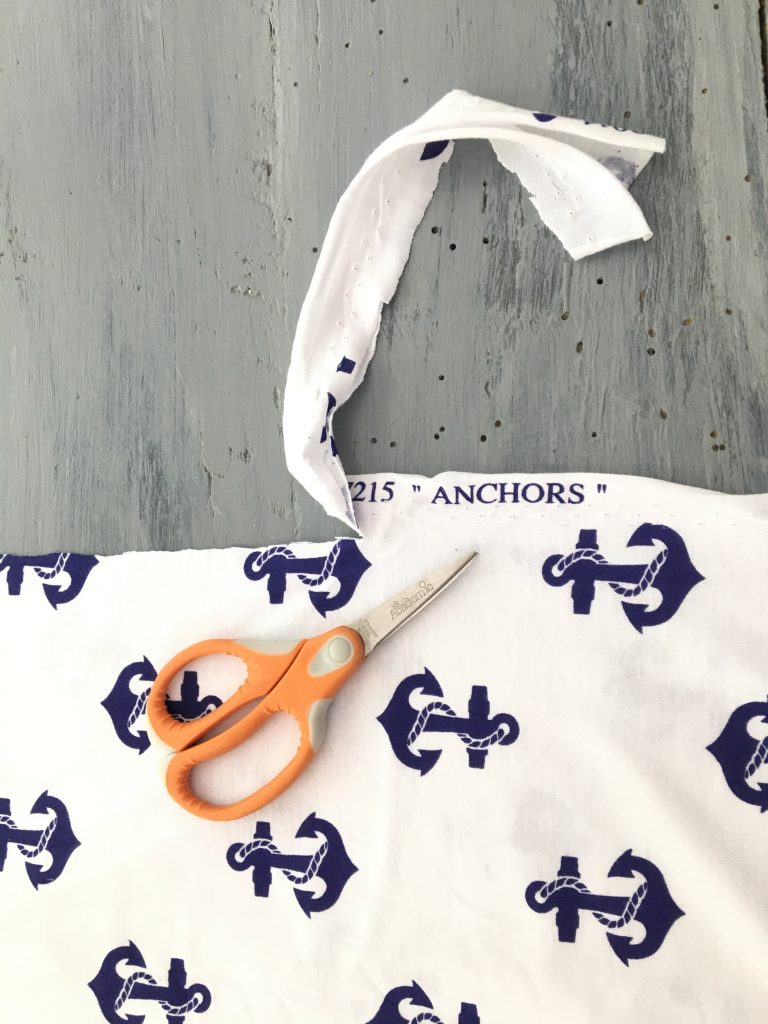
Lay your fabric out on the floor. You will need quite a bit of floor space. Smooth out the fabric so that there aren’t any wrinkles. If necessary cut off the edge of the fabric if there is any type of printing or a white edge. This might be the hardest part of the whole process. Do not drive yourself crazy trying to make this perfect. Because you are using a knit fabric there isn’t any need to hem the fabric because it will just roll in and won’t fray! I love knit fabric!
Step 2
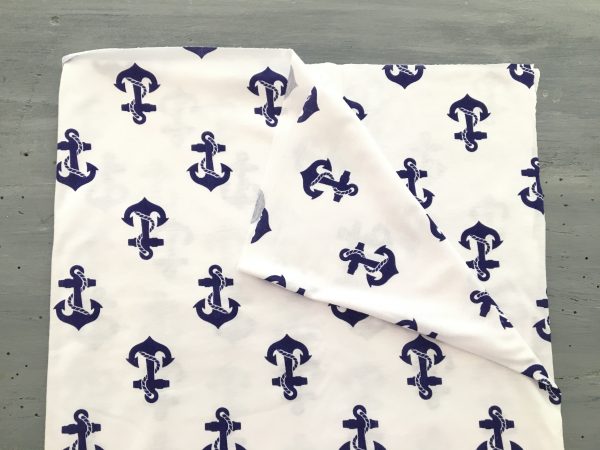
Fold your fabric in half, lengthwise.
Step 3
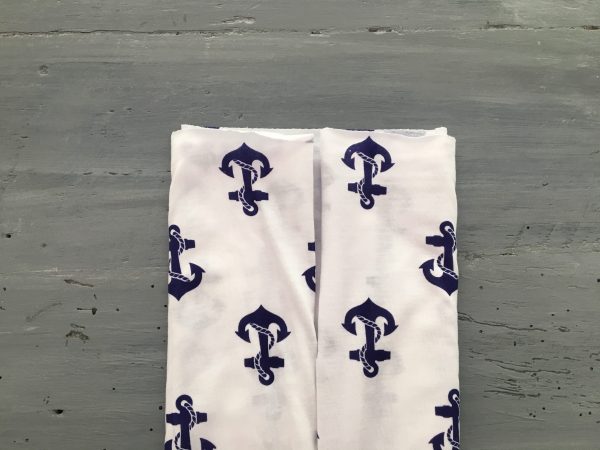
Take both edges and fold them to the center, equally.
If you are right handed you want the open edge to be on your left at this point, and the opposite if you are left handed. This is important for how it will open as you wear it. All the tutorials that I found had you fold it in half again but I found this way to work better. The way that this is folded will keep the padding flat on your shoulder and allow the sling to open cleanly across your back and thread nicely through the rings. You want the opening to be facing up as it comes under your arm so you have a pocket to put your baby in. This special way of folding keeps the sling from getting twisted.
Step 4
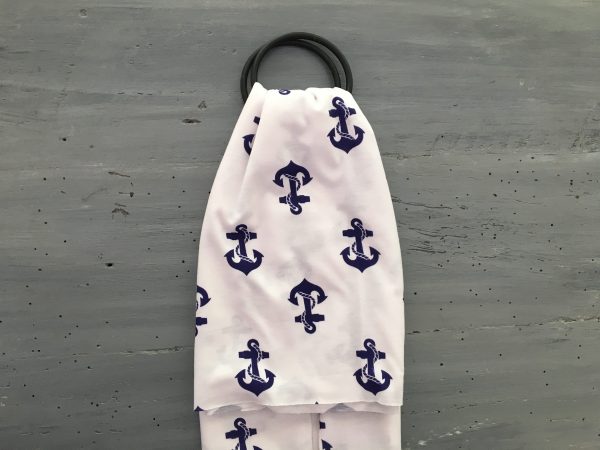
Slide the rings on to the fabric.
Step 5
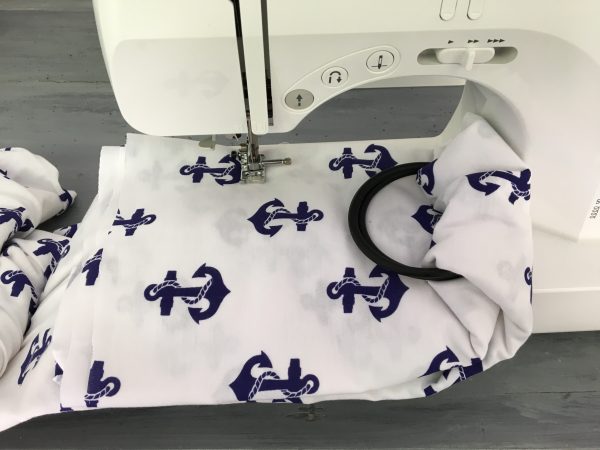
Slide the rings about 6 to 12 inches down the fabric and fold over. You want to allow ample room for the padding to rest on your shoulder. Pin in place.
Step 6
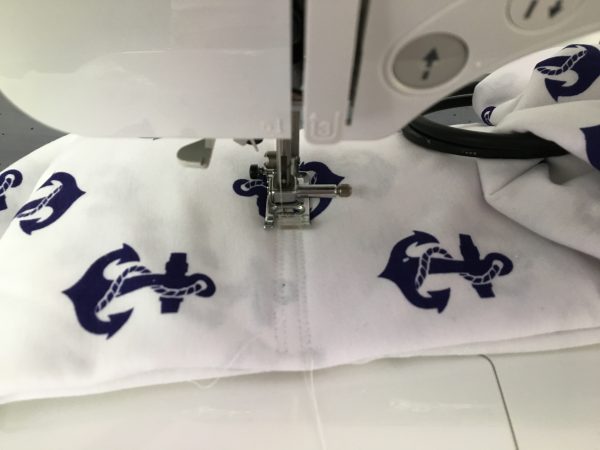
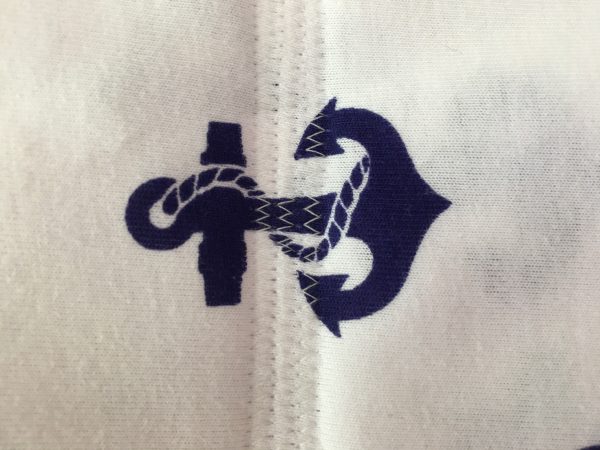
Using a coordinating thread color, sew two lines, zigzag, across the sling. If you are in the market for a sewing machine, I have a Brother Cs6000i which I absolutely love.
Try to keep the line as straight as possible, especially if you have a graphic pattern like this chevron. Make sure to reinforce the stitching at the beginning and end of the line.
Since creating this tutorial I have found that sewing three lines for reinforcement makes for a safer sling. Sew two lines side by side and then place the third overlapping the first too. That makes for a super secure sling!
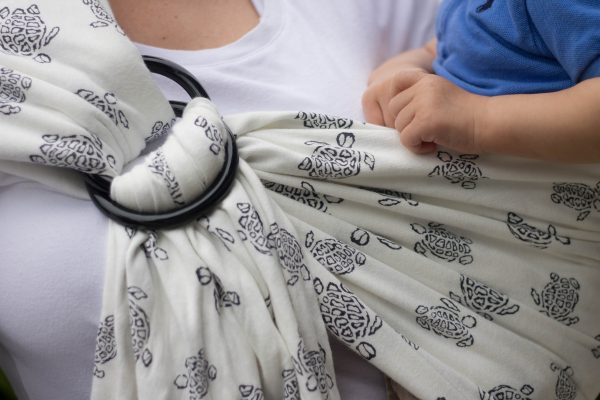
And that’s it!! You have made your sling! How cool and easy was that!?! Now, if you are thinking this is too much for you to take on right now, I hear you! We only have so many hours in the day and we are usually so exhausted. There are some really cute ring slings online. Check out this ring sling on Amazon for under $50!
I have also included a video showing how to thread and wear the ring sling and put your baby in it.


