
 A few weeks ago Eric and I co-hosted an engagement party for his brother and future sister-in-law. We new we wanted to get them an engagement present, but couldn’t figure out what to get them. They are a very unique couple and quite adventurous, so we wanted it to fit them but still have something to do with celebrating this special milestone.
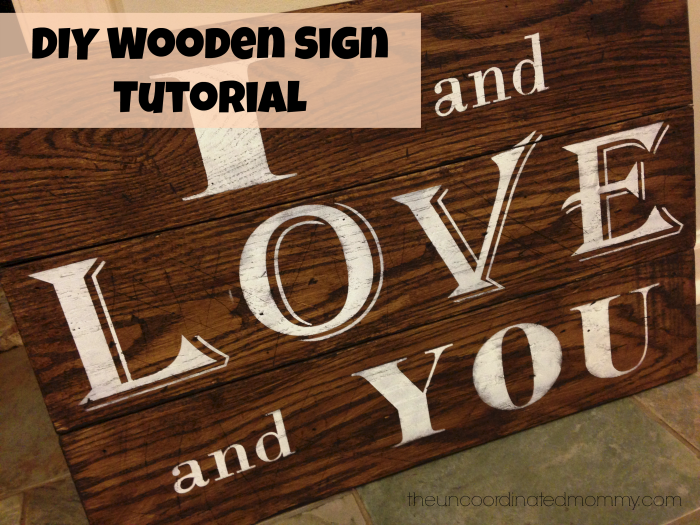
Eric, my brother-in-law Nick and I had seen The Avett Brothers in concert many times before and one of their songs kept popping up in my head. I and Love and You. It technically isn’t the best love story song in the world because it is about love that has been lost. All because he was unable to say three little words, I and Love and You. However, I knew it would make an awesome sign for them to hang on their wall.
Here is my twist on this phrase. It is easy to get consumed by all the craziness of planning the wedding and the hectic, adrenaline rush that happens on the big day. Remember that all of this means nothing without these three words, I and Love and You.
Now to the Sign!

I first tried to see if I could find some reclaimed wood and shockingly in a metropolitan city like Atlanta that really is not that easy. I did talk to a few local DIY bloggers who had some tips like checking out the local ReStore, but I was under a time constraint and eventually just had to go to Home Depot and buy some wood. What I bought was a 1″ x 6″ x 8′ piece of red oak. It was beautiful!! I had the lumber guy cut it into four 24″ pieces. This gave me three pieces for my sign and an extra to test stains and distressing methods on. I also bought 4 metal brackets to attach the pieces together. I had to head over to the hardware aisle and find some wood screws that would fit in the bracket holes, but not be too long for the 1″ board.
Tips:
Make sure to hold your screw up to the board, my 1″ board was actually 3/4″ , which I hear is pretty common.
There were also smaller 1/2″ x 6″ x 4′ boards of red oak. I would much rather have used these, except they only had 1 board and I would need 2 for my project. This was a little more expensive, but the sign would have been much lighter! All in all the sign, minus the tools for lettering, cost about $35.
I bought two small jars of stain in “Ash” and “Grey”. I wanted to test them out and see which one I liked best, I even considered using both.
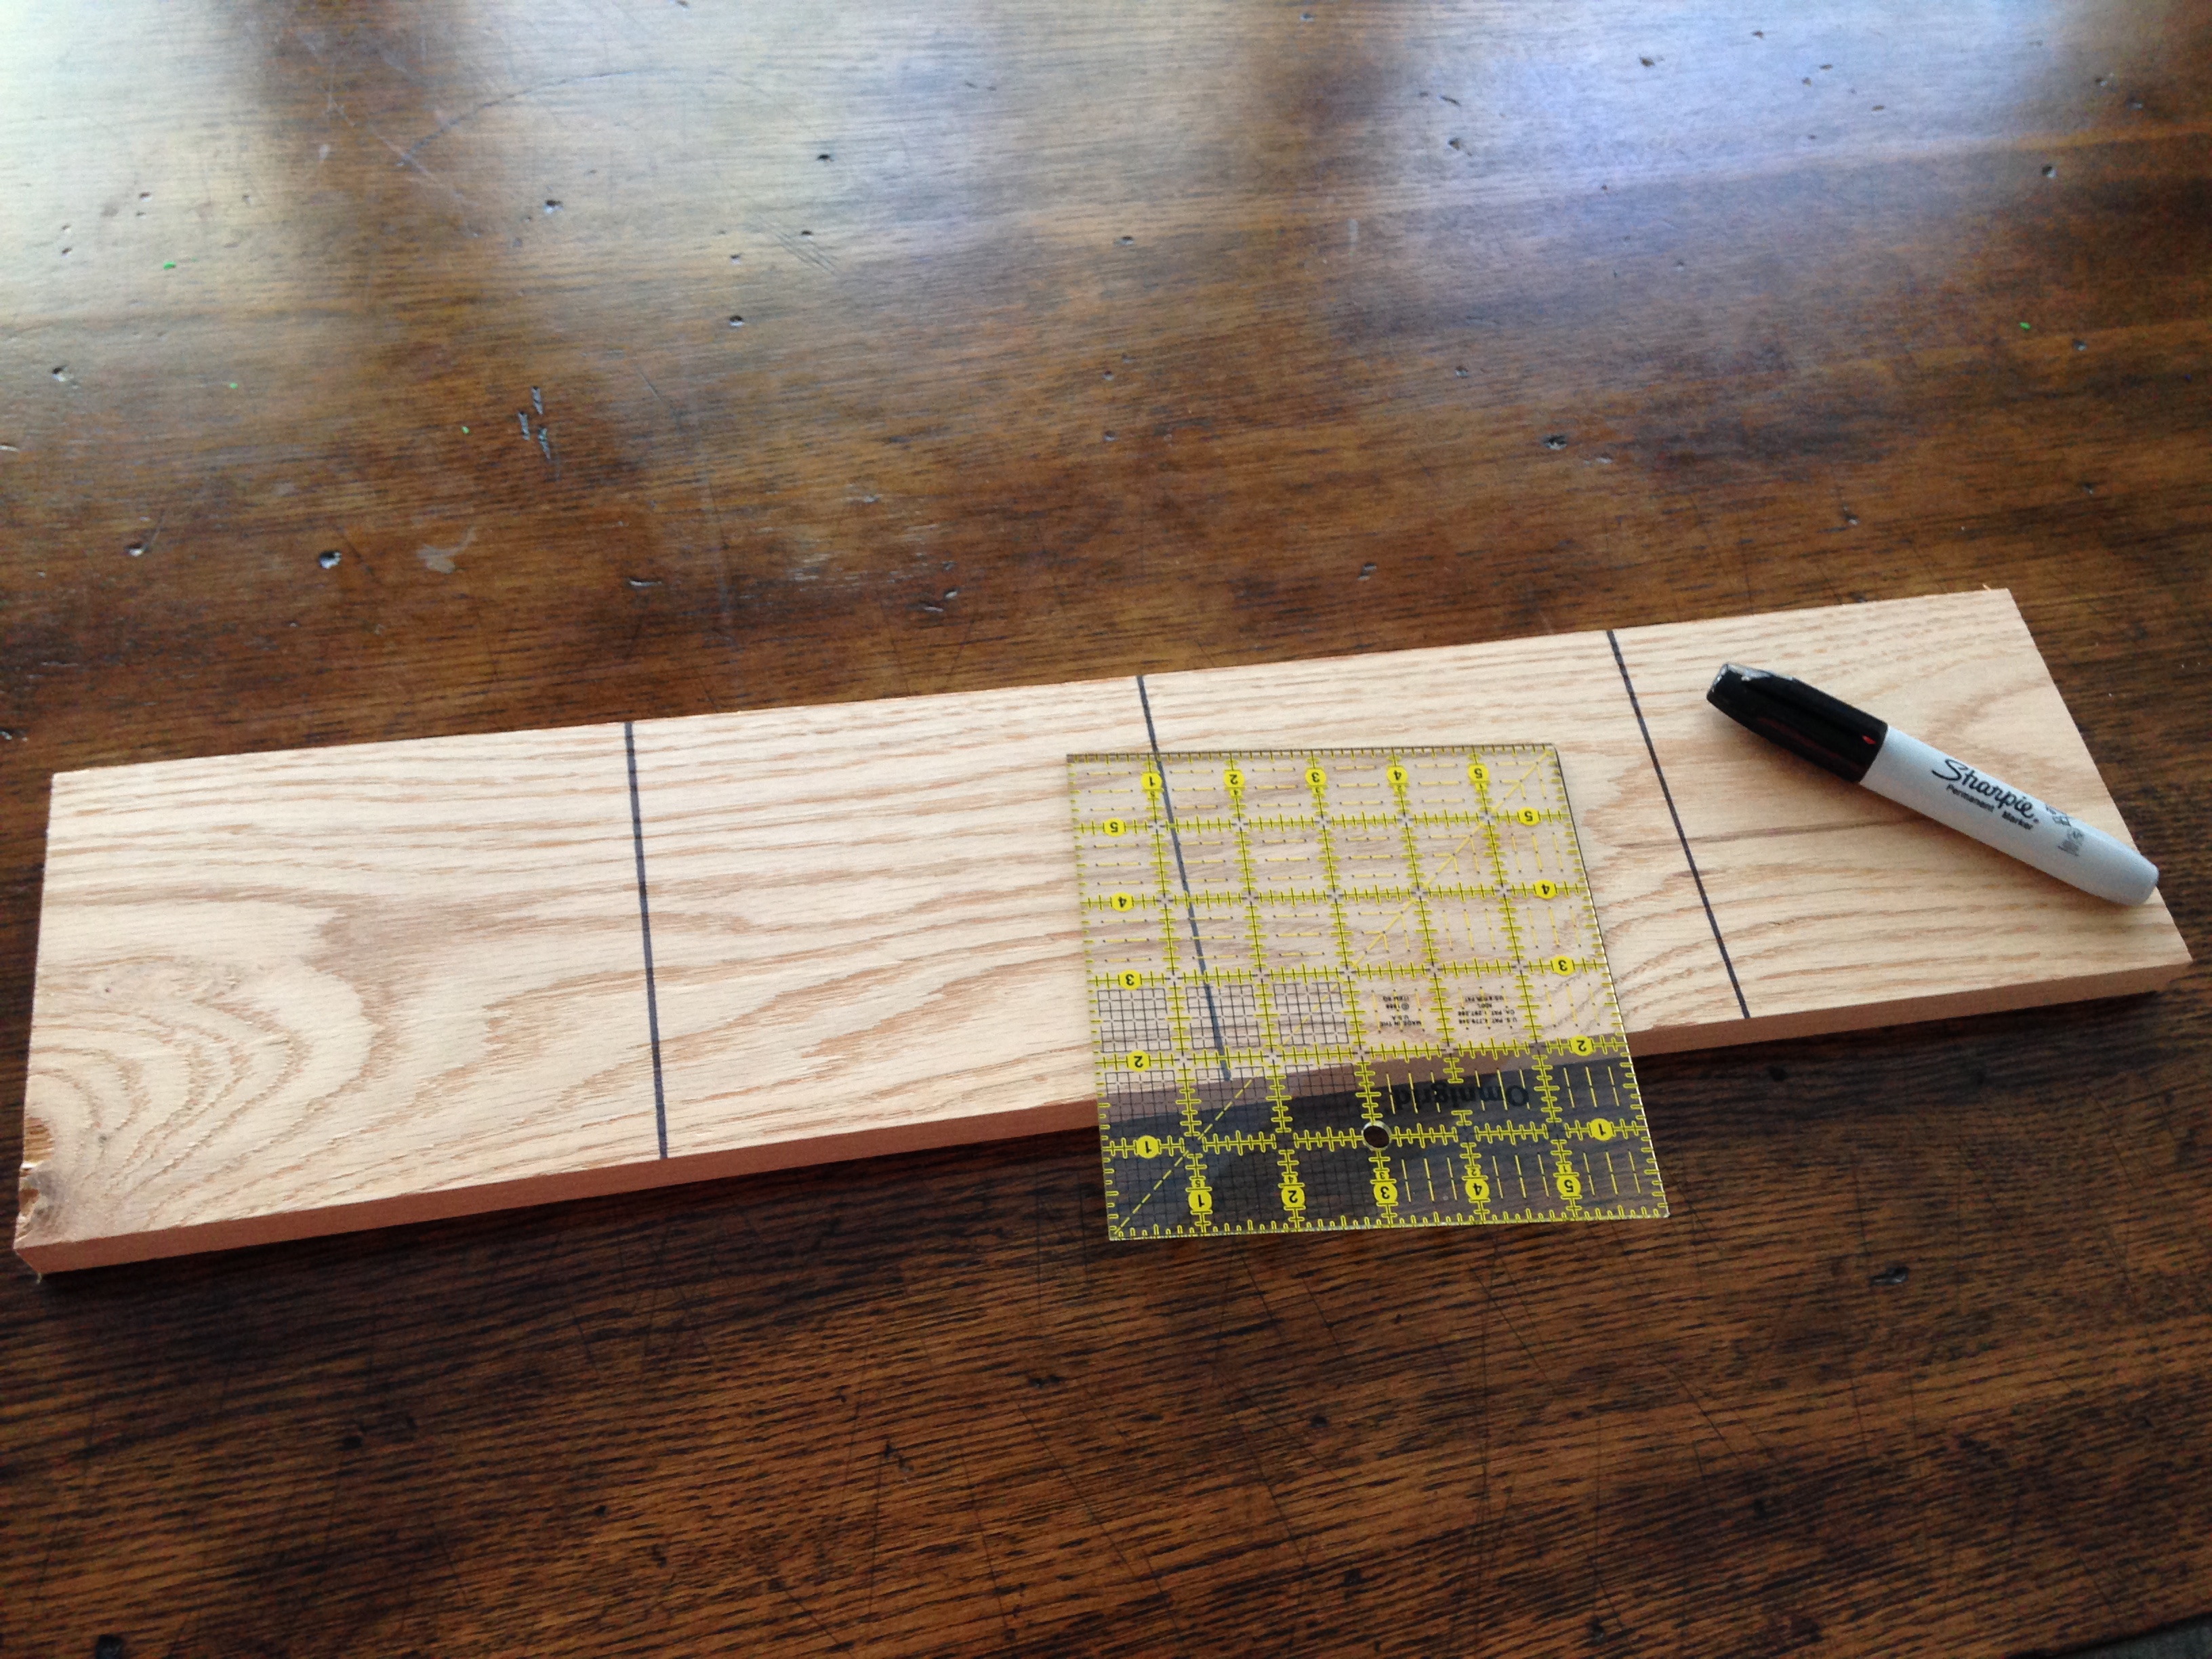
When I got home I took the extra piece out to our workshop. With a sharpie and a ruler I divided the piece into four sections. One section I left completely alone, I still wasn’t sure that I wanted to distress the sign, so I wanted to see what it would like like untouched. Then I basically beat the crap out of the other three sections using a variety of tools. Mostly a hammer (all sides), a screw driver, nails, screws, a monkey wrench. If we had it and it could withstand the beating, I used it. Using the nails and screws I scratched the surface and nail the nails into the wood and then pulled them back out leaving small holes. I tried to make everything very random. It was actually a lot of fun and quite therapeutic!! Here is a much more detailed tutorial for distressing wood.
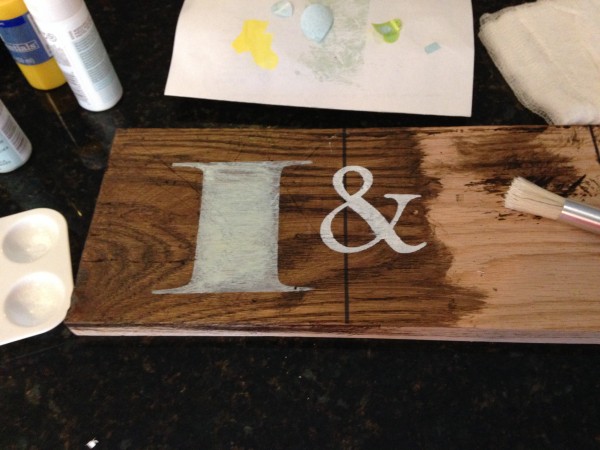
Afterwards I used the different color stains in each section and combined the two in the third section. Since the fourth section was merely for examining the wood unmarked I just used one of the stains there. After they dried I decided I wanted to use the ash stain, it dried a nice dark stain. It is very possible using the methods in the link above to heavily distress the wood, I chose however to just beat it up a little and not make it look completely weathered. I do however want to make a sign for my house now and I might give that a shot next time!
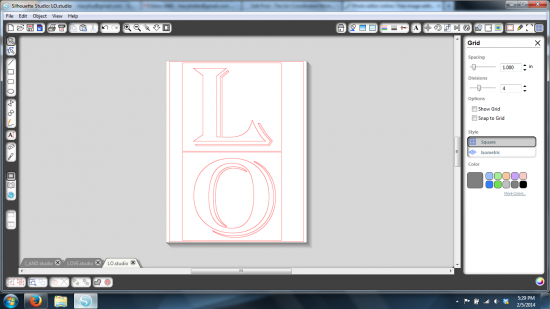
I also used this extra piece to practice stenciling my lettering and fonts as well as paint colors. I decided that I liked the white the best and to keep it simple with just one color. I only had time to make this sign once, so I definitely played it safe. I used my new Silhouette Portrait to cut the stencils out of vinyl. Before deciding on the font and sizing I cut the letters out of black card stock paper and made adjustments until it was to my satisfaction.This worked perfectly! 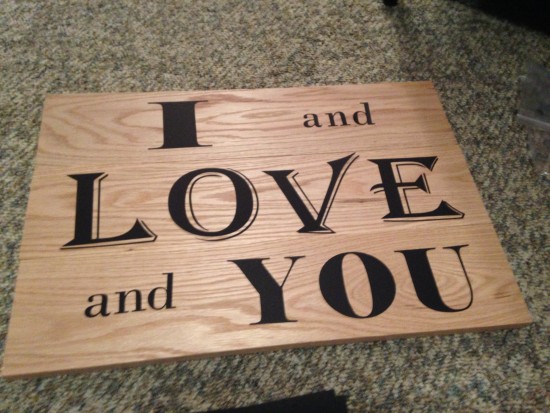 Afterwards I cut each letter out of vinyl (using contact paper to keep from distorting the shape) and laid it separately on the sign and measured everything multiple times to make sure it was all lined up perfectly and spaced well. This was definitely the most labor intensive part. Here is a great tutorial for using laying down vinyl using contact paper. Because she was using paint and not staining the sign she was able to use the letters themselves instead of making a stencil, this seems like it would be much easier! I suggest placing rectangles around your letters (see screen shot below) if at all possible, this may use more vinyl, but it will make it easier to line up your letters on the sign.
I used stencil sponges to apply the acrylic paint (white) and let it dry overnight. I then took a bottle of antique matte Mod Podge and covered the entire sign 3 times to seal it and tone down the white a little. All in all I was very happy with how it turned out! Unfortunately I finished the sign at about 2:00 AM so I wasn’t able to take a nicer picture of it before giving it to the happy couple. 🙂
