 Summer is here and it seems that our days are filled with trips to the neighborhood pool and playing in the yard! However, there is only so much time we can spend outdoors. Let’s face it, it’s HOT and my toddler is always on the go. Sometimes a little AC and baby gates are required.
At the end of the school year we had our parent/teacher conferences and Noah’s teacher shared that he was doing really well at tracing letters and it would be helpful to practice that a little over the summer.
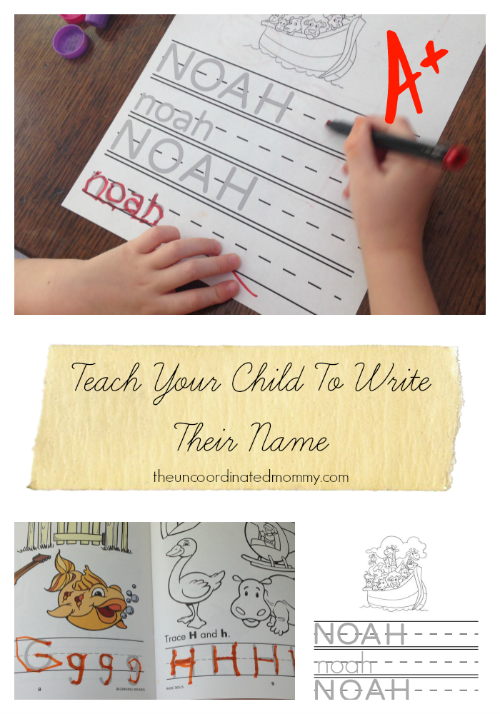
Here are a few great tools to help you teach your child to write and a couple of easy ways to teach them to write their name!
1)Crayola Dry Erase Learning Activity Workbook Handwriting Magic – We love these! They are great for practicing because you can erase and start over as many times as you want. And here’s a tip, get the Crayola Washable Dry Erase Crayons
, they aren’t as messy as dry erase markers! Crayola also has coloring books and if you have a printer you can just make photo copies for them to use.

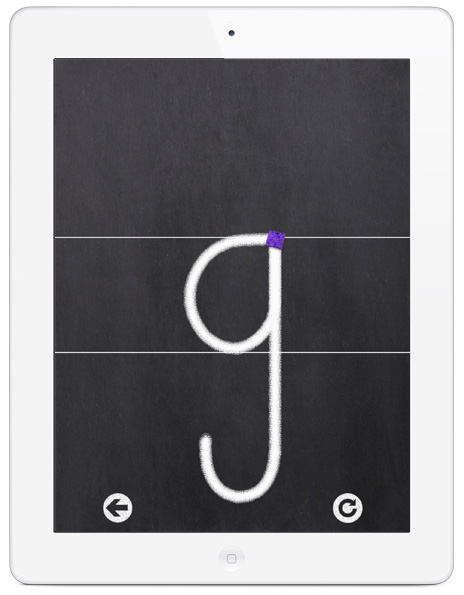
2)Handwriting Without Tears App – For all you iPad owners here is a great app, Wet-Dry-Try, from Handwriting Without Tears.
 3) A+ Worksheet Maker Lite – This free online software from Handwriting Without Tears allows you to easily create custom worksheets using HWT fonts, cursive and print, and double lines. Since this is the “Lite” version your options are pretty limited.

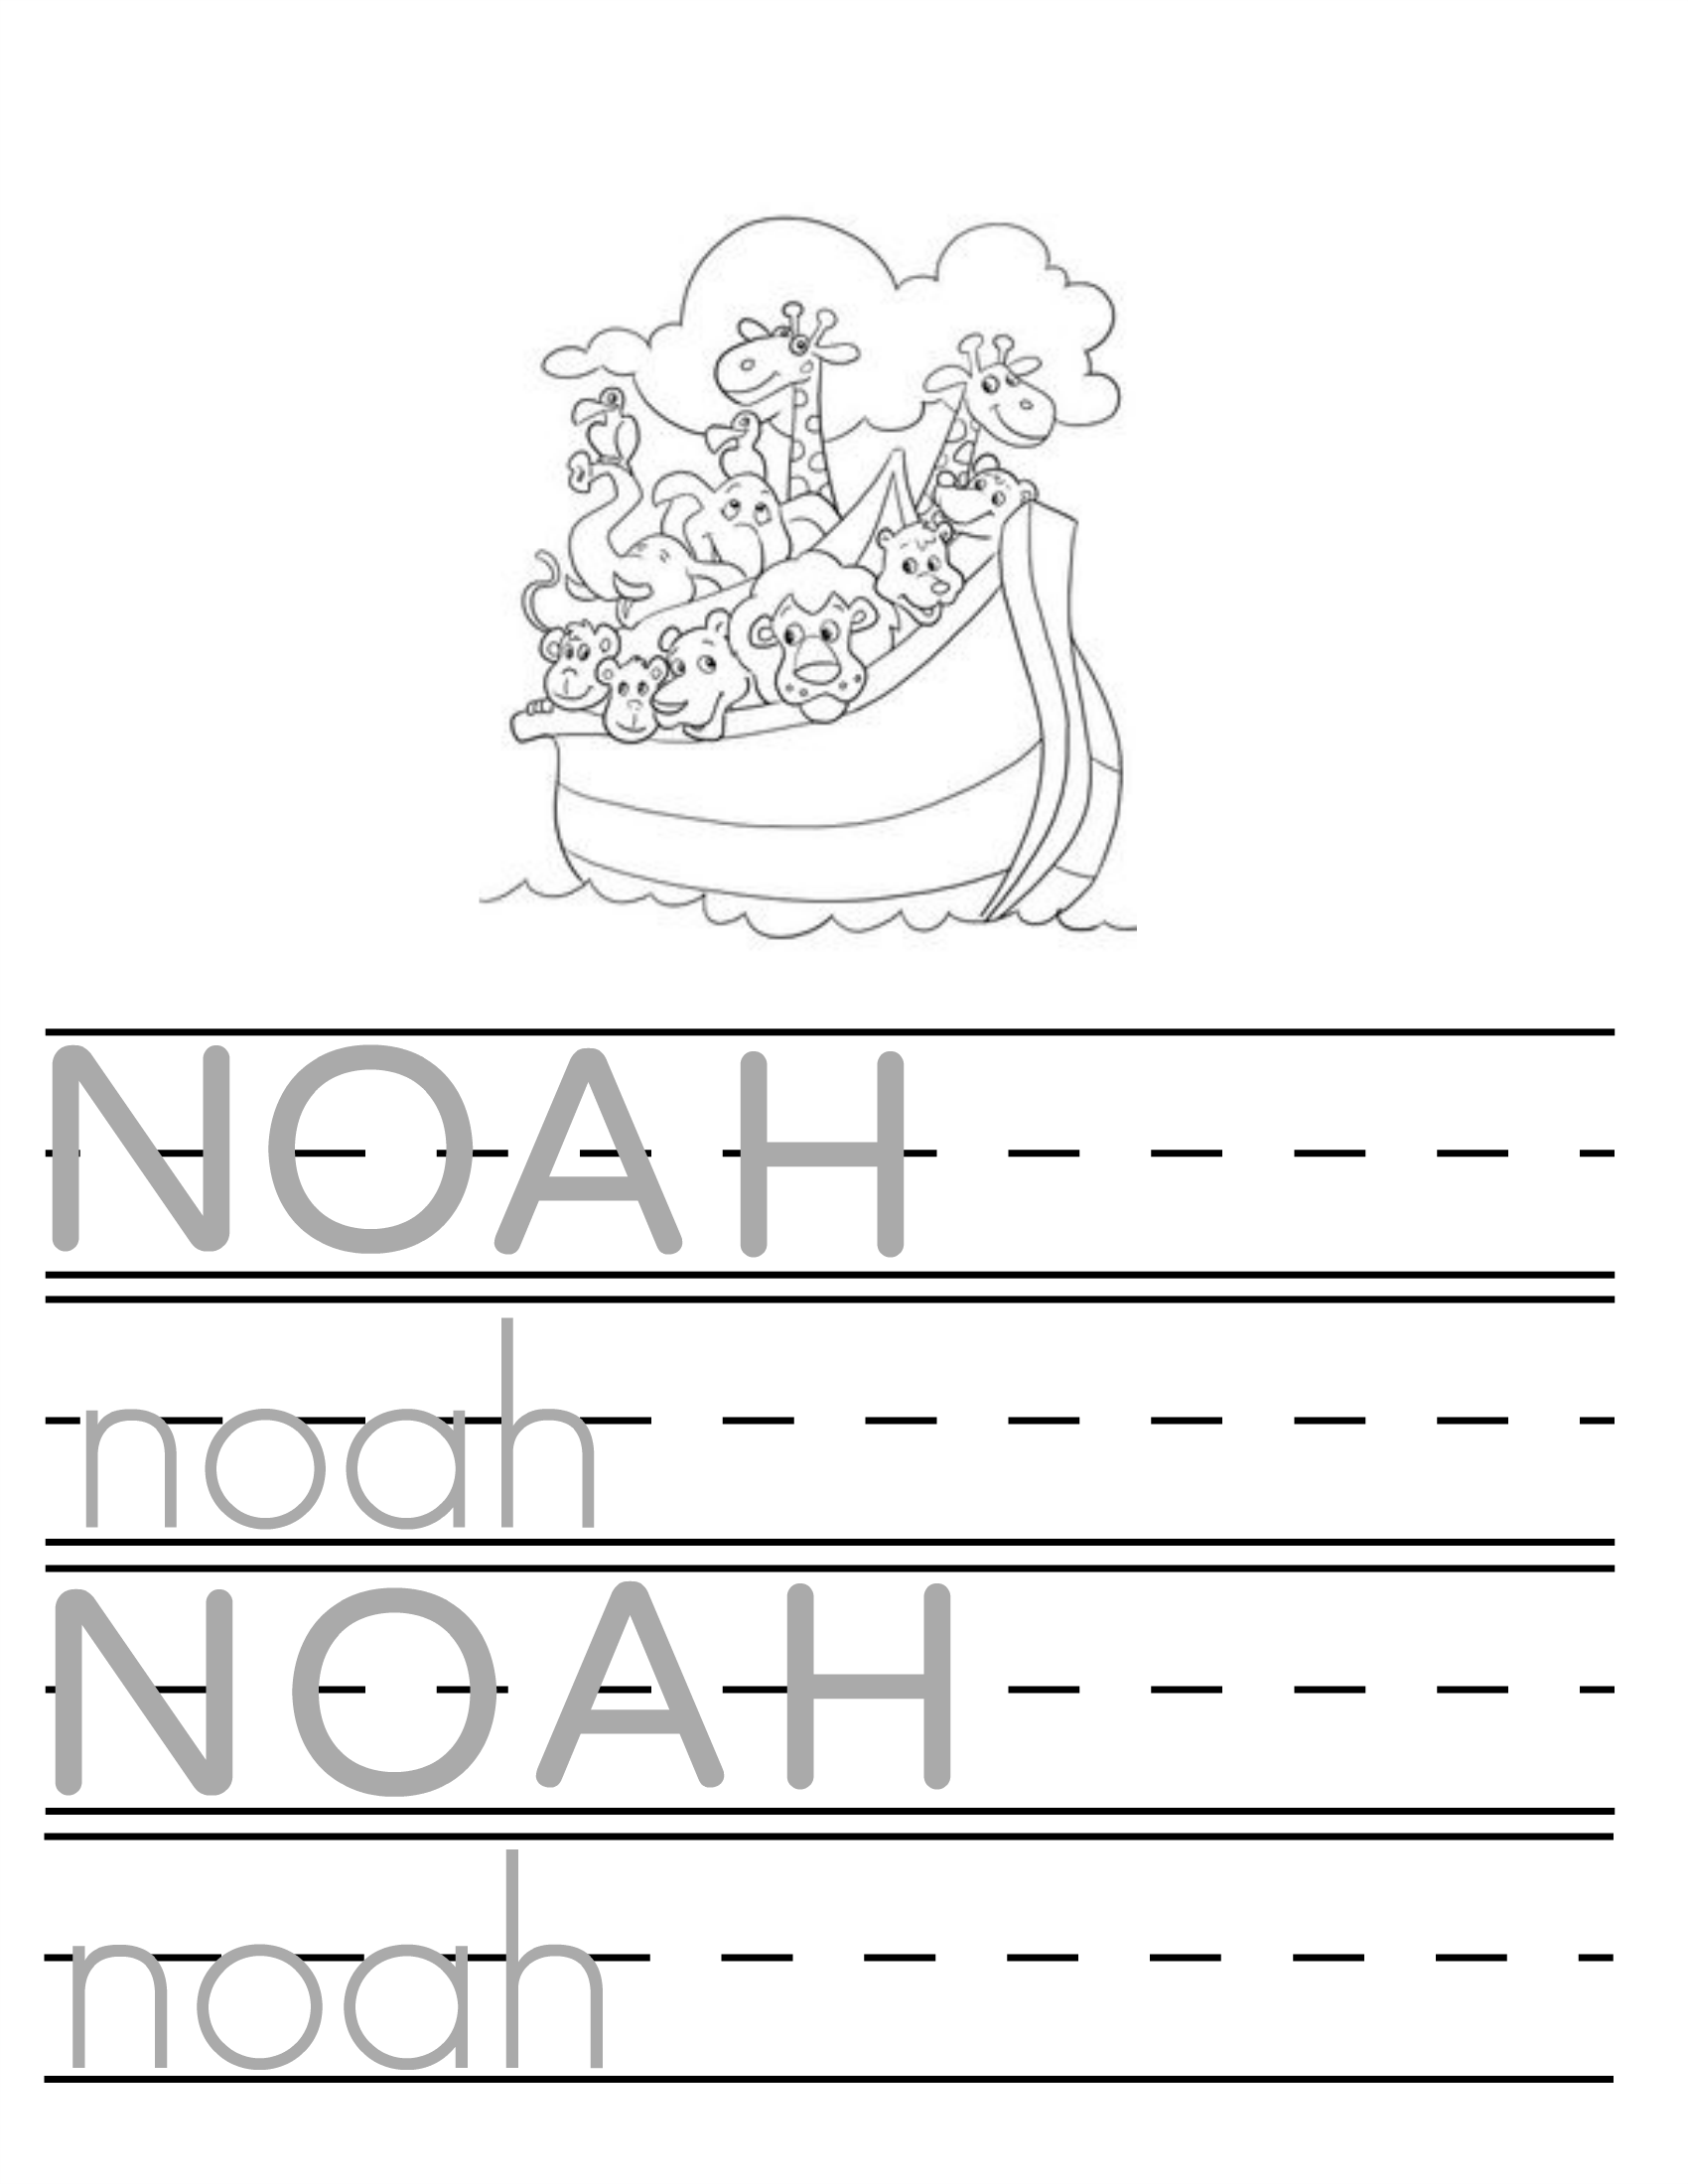
4) Pic Monkey – I love the format of the Crayola letter books, but I wanted Noah to start practicing writing his name. I headed over to Pic Monkey and made a sheet just for him! It was super easy. I’m lucky because his name is Noah and there is no shortage of Noah’s arc clip art available on the web, but for Bryce I will probably just use things that start with B. Below are steps you can follow to create one for your own kid!
*Click on the images to enlarge.
Begin by hovering your mouse over the Design option on the PicMonkey main page. Select 8×10.

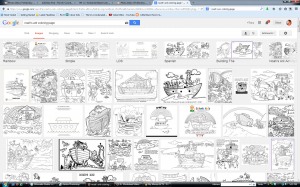
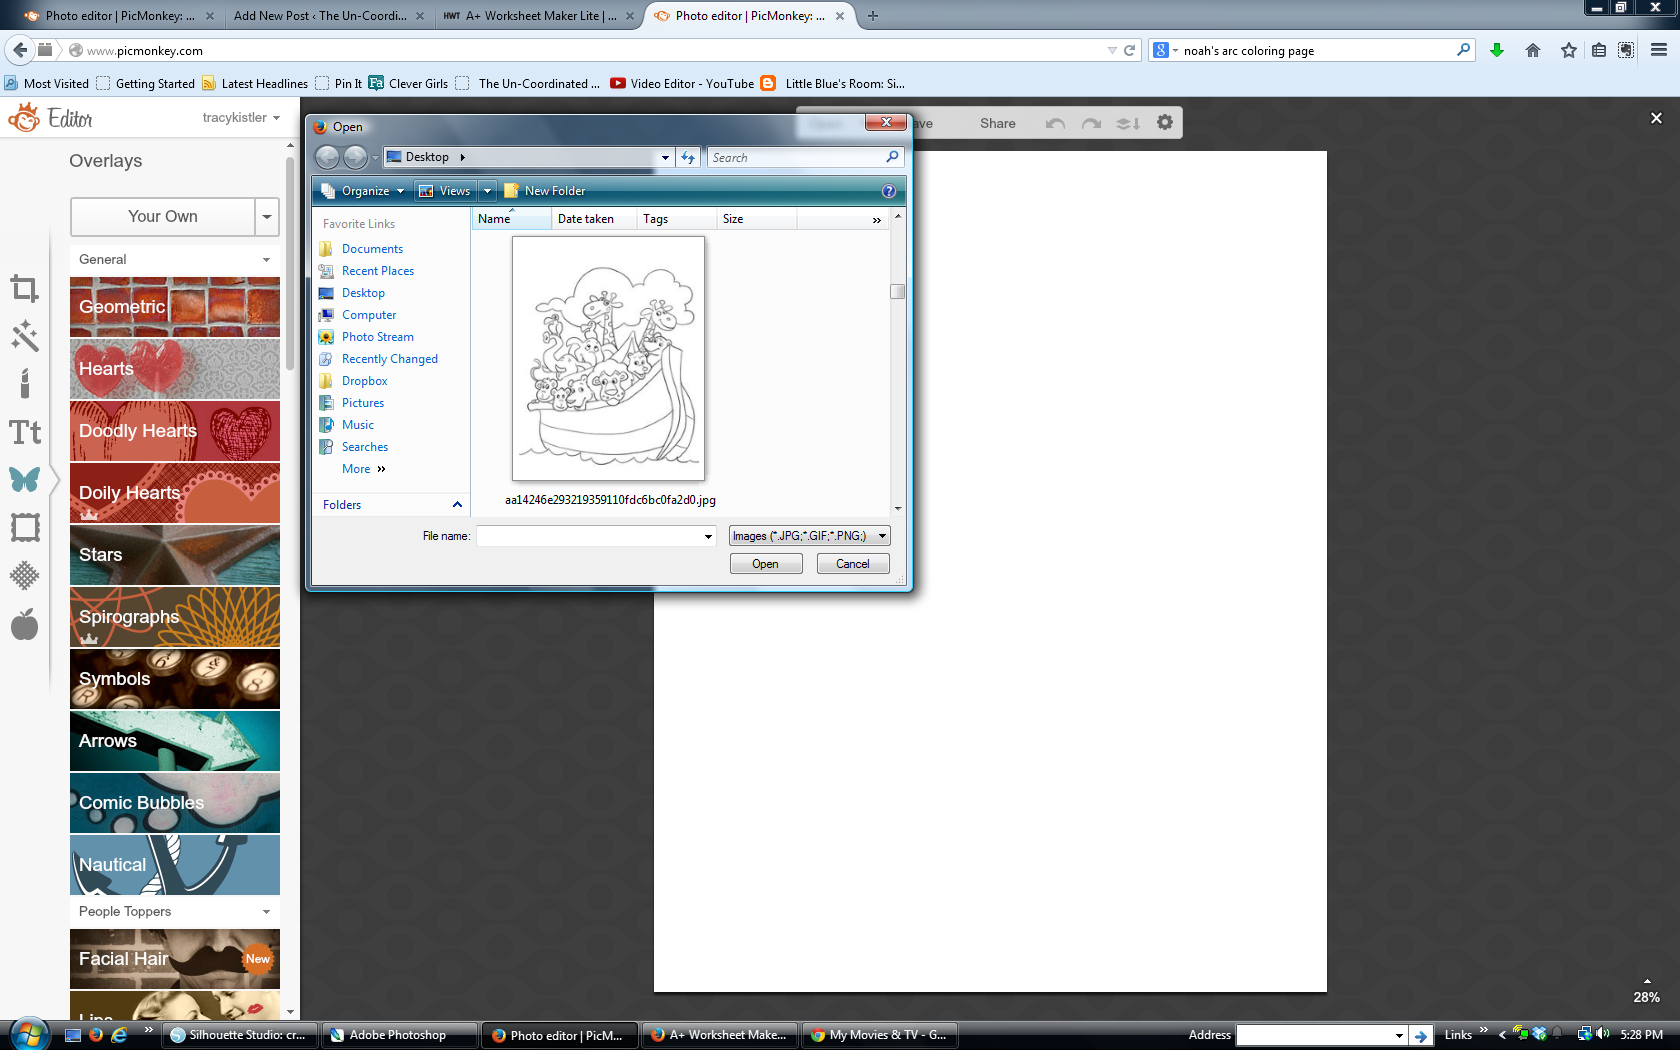
Search google for images. Typing “______ coloring” or “_______ clip art” is a great way to find coloring book pictures. Also make sure you click images when you are searching. Save the files you would like to use to your desktop.
Open your picmonkey page and click the butterfly to insert your images. This will open the “Overlays” option. Click “Your Own” and select your image(s).
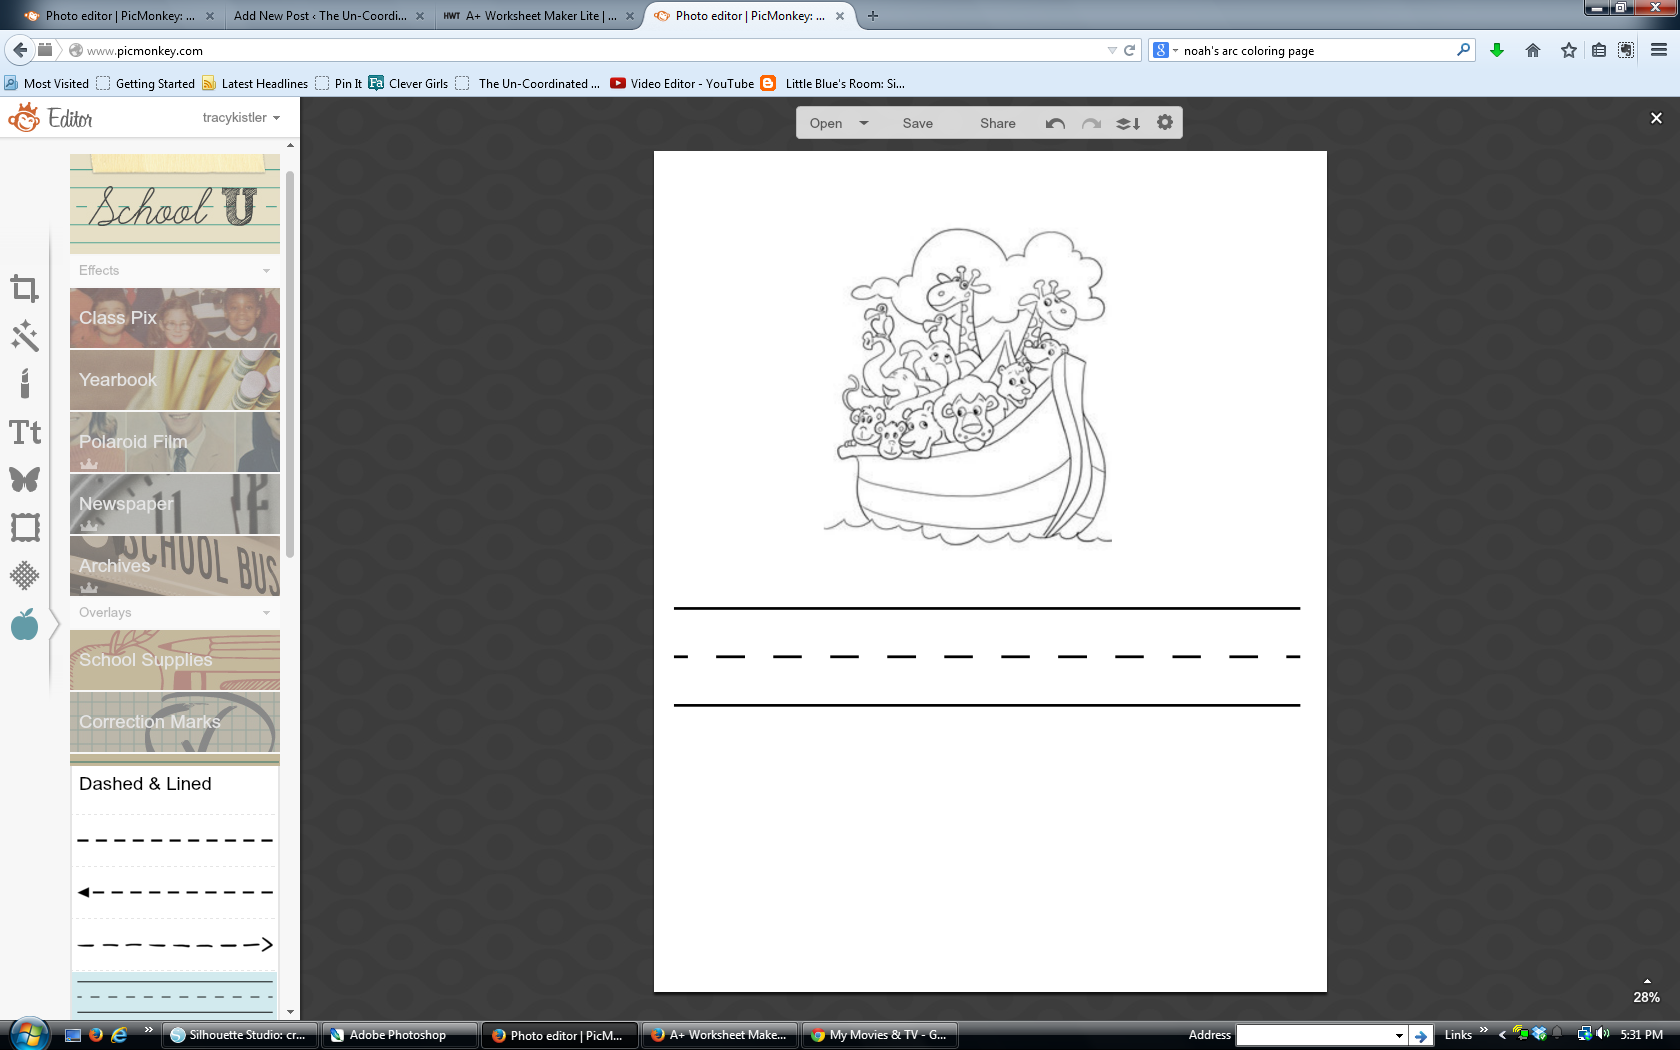
To add the dashed line, select the apple on the left and then click “School U” at the top. Scroll down until you see the dashed line.
The last step is to add their name, or any other words you would like to work on. Noah is no where near learning to spell but he recognizes his name and it’s nice and short. 🙂 I used the “Varela Round” font for upper case and the “Geo Sans Light” font for lower case. You can choose your own font, but these are the two closest to basic handwriting. If you are practicing cursive you might want to use “Learning Curve.” You also want to change the font color to a light grey to make tracing easier.

And voila! You have a custom worksheet complete with coloring fun! 🙂 If you have a little Noah I have done all the work for you 🙂 Just click on the image below to download the full size version.